Dashboards
AssetWise Inspections allows admins to create a variety of dashboards and widgets which can be added to the Asset Dashboard tab of an asset by a user.

To edit an existing dashboard, click the
 symbol for the desired dashboard.
The process will be very similar to creating a new dashboard as described
below.
symbol for the desired dashboard.
The process will be very similar to creating a new dashboard as described
below.
Create New Dashboard
To create a new dashboard, click the Create button in the top left corner of the screen. The user will be taken to a new page to enter information about the new dashboard:

- General Tab Name – Use the Name textbox to enter the name of the dashboard.
- Description – Use the Description textbox to enter a description of the dashboard.
- Asset Types – The Asset Types checkboxes signify which asset types the dashboard and widgets will be available to add to the Asset Dashboard tab of an asset.
- Save and Cancel – Once a name and asset type are selected, the Save button saves the new dashboard. The Cancel button cancels the creation of the dashboard.
- Delete – Once the dashboard is saved, the Delete button becomes available in the top right corner of the screen. Click Delete
- to delete the currently selected dashboard.
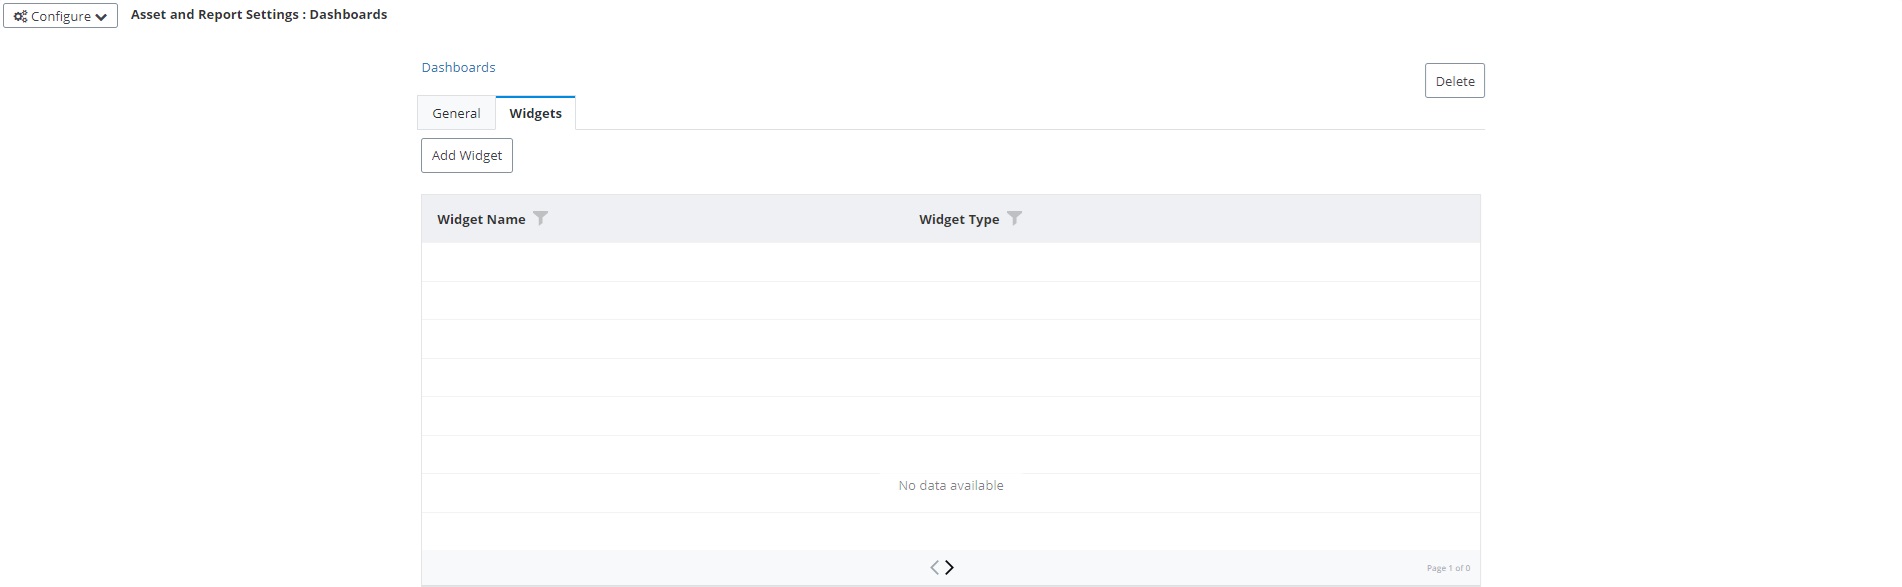
- Widgets Tab – The Widgets tab allows the admin to add and view the widgets that are available for the dashboard. These widgets can be added to the Asset Dashboard tab of an asset.
- Save and Cancel – Once a widget is added, the Save button saves the changes to the dashboard. The Cancel button cancels the changes to the dashboard.
Adding Widgets to the Dashboard
To add widgets to the selected dashboard, click the Add Widget button in the top left corner of the screen. The user will be taken to a new page to enter information about the widget:

Use the Widget Name textbox to enter a name for the widget. This will be the name that appears in the selection box when users are adding a widget to the asset dashboard.
Use the Widget Type dropdown to select the widget type.
- Widget Types – The
different Widget Types available to be selected are as follows:
- Forms Designer Widget – allows the user to select a template that is already configured under Site Configuration > Manage Asset and Report Settings > Templates
- External Data View Widget – allows the user to select an external data view that is already configured under Site Configuration > Manage Asset and Report Settings > External Data Views
- Maintenance Grid Widget – allows the user to select a maintenance type to display data for in progress/completed maintenance items in a grid
- Reports Widget – allows the user to select a report type to display data for in progress/completed reports in a grid
When selecting the Forms Designer Widget and the Reports Widget, a Report Type dropdown appears. A report type is not required for the Forms Designer Widget template to be used. Saving the widget without a report type will display asset values. If a report type is selected, then the widget will display the most recent report data (of that report type).